
Add documents (including invoices) and photos to a Capital Project or Unit Renovation from its Documents & Photos section. Use it to keep contracts, purchase orders, change orders, reports and pre-construction, progress and completion photos with the project.
 In this article
Open a project's Documents & Photos section
 Go to either a Capital Project or a Unit Renovation
Open the Capital Project or Unit Renovation you want to add files to.
 Go to the Documents & Photos section
Open the Documents & Photos section of the project.
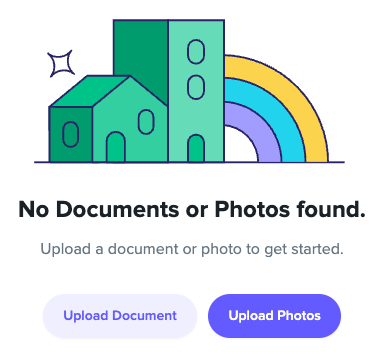
 Choose Upload Document or Upload Photos
Select Upload Document for files such as contracts or invoices, or Upload Photos for project photos. Then follow the matching steps below.
Upload a document: attach an invoice or a file
Open the three-dot menu in the Documents tile
In the Documents tile, open the three-dot icon.
Choose Attach Invoice or Attach Files
To add an invoice, select Attach Invoice. For any other document, select Attach Files and complete the steps in the next section.
 Tip
Attaching an invoice skips Title and the category type. These only apply to Attach Files.
Attach Files: add a contract, purchase order, change order or report
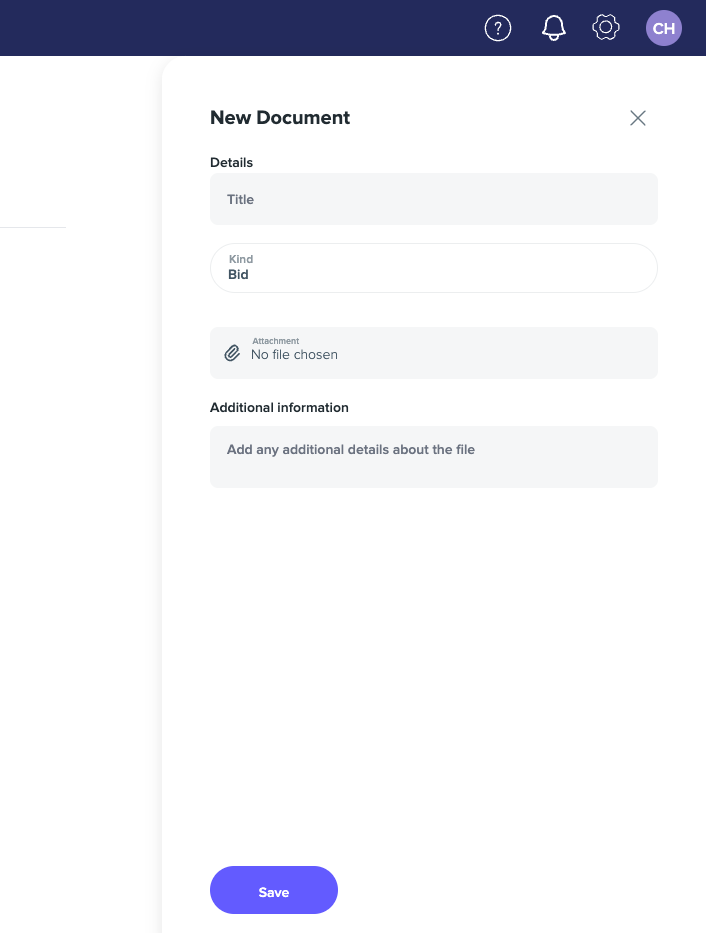
Add a title
Enter a Title for the document.
Select the category type
Pick the category type, for example Contract, Purchase Order, Change Order, Report or Other.
Choose the file
Select Choose Files and pick the file from your device.
 Add additional information if needed
Enter any Additional Information about the document.
 Save
Click Save. The document is added to the project.
Upload photos to a project
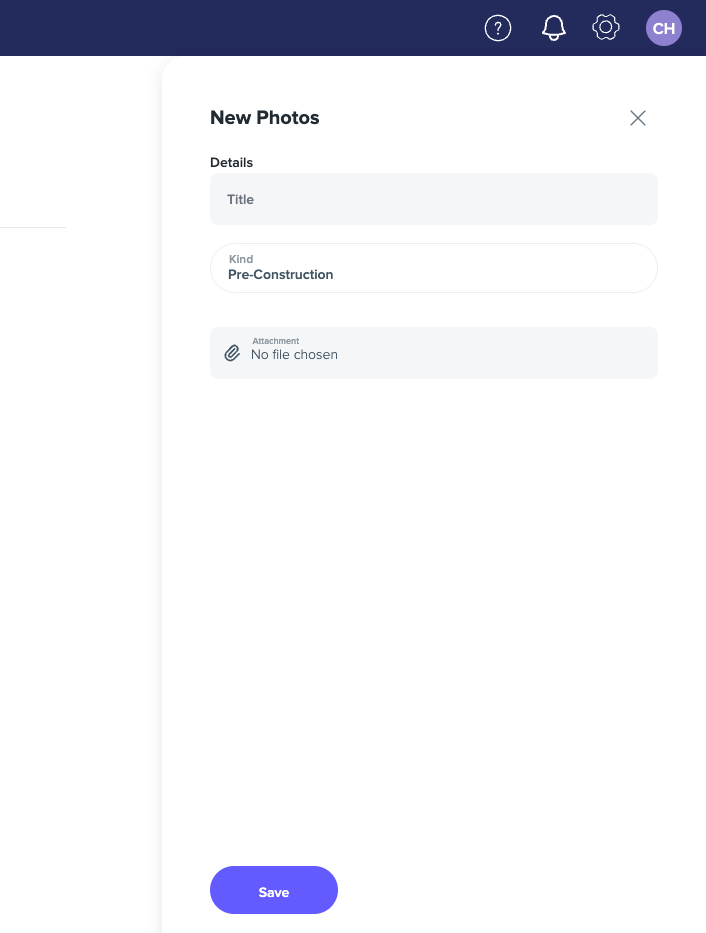
Add a title
Enter a Title for the photo.
Select the photo category type
Pick the category type, for example Pre-Construction, Progress, Completion or Other.
Choose the photo
Select Choose Files and pick the photo from your device.
Save
Click Save. The photo is added to the project.
 What is recorded with each upload
The document title and the date and time of the upload are recorded with each upload.
Download an attached document
Click the download icon next to the file
On the right-hand side of the attached file, click the download icon. It is the icon to the left of the trash can.