
The New Incident button opens a side drawer where you record a new incident: its type, title, description, location, and when it occurred and was reported.
Use it whenever you need to log an incident so it appears in your Incidents list.
 Where you do this
Incident Reports, including incident type setup, run in Manage, the web app where admins and managers run day-to-day operations.
Creating a new incident
 Open the new incident drawer
Click New Incident at the top right of the screen.
 Tip
A drawer opens on the right side of the screen.
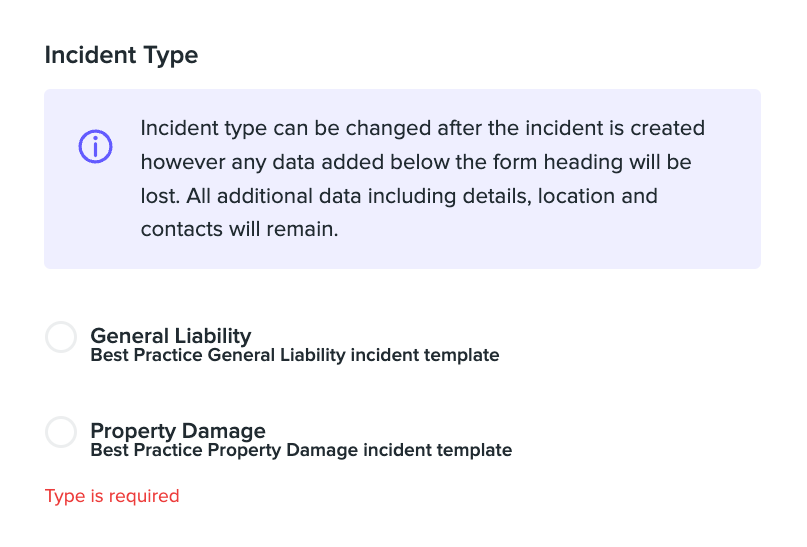
 Choose the incident type
Pick a category from the Incident Type dropdown. The type can trigger the capture of additional information once the initial incident draft is created.
 Enter a title
Type a descriptive Title for the incident. This field is required.
 Describe the incident
Record as much detail as possible in Detailed description. This field is required.
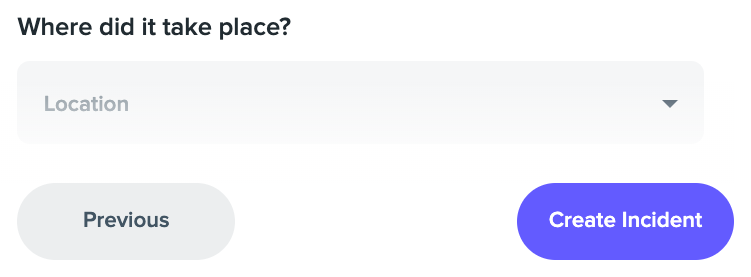
 Choose where it took place
Select one or more units and areas in Where did it take place?. If the incident affected the entire property, or the area isn't registered as a common area, select the property itself.
Tip
The list holds every unit and area in the selected property, and you can pick more than one.
 Set when it occurred
Set Date Occurred and Approximate Time (Occurred). Both are required.
Tip
These default to the current date and time. Date Occurred can't be later than the current date.
 Set when it was reported
Set Date Reported, the date you were notified, and Approximate Time (Reported).
Tip
These default to the current date and time. Date Reported can't be later than the current date. Approximate Time (Reported) is required.
 Create the incident
Click Create Incident.
Tip
The drawer closes and the Incidents list refreshes to show the new entry.
| Field | Required | Default | Limit |
|---|---|---|---|
| Incident Type | - | - | Can trigger capture of additional information after the draft is created |
| Title | Yes | - | - |
| Detailed description | Yes | - | - |
| Where did it take place? | - | - | Units, areas or the property itself; multiple selection |
| Date Occurred | Yes | Current date | No date later than the current date |
| Approximate Time (Occurred) | Yes | Current time | - |
| Date Reported | - | Current date | No date later than the current date |
| Approximate Time (Reported) | Yes | Current time | - |
Cancelling a new incident
To stop without creating the incident, click Cancel at the bottom left of the drawer, or the close icon at the top right corner.